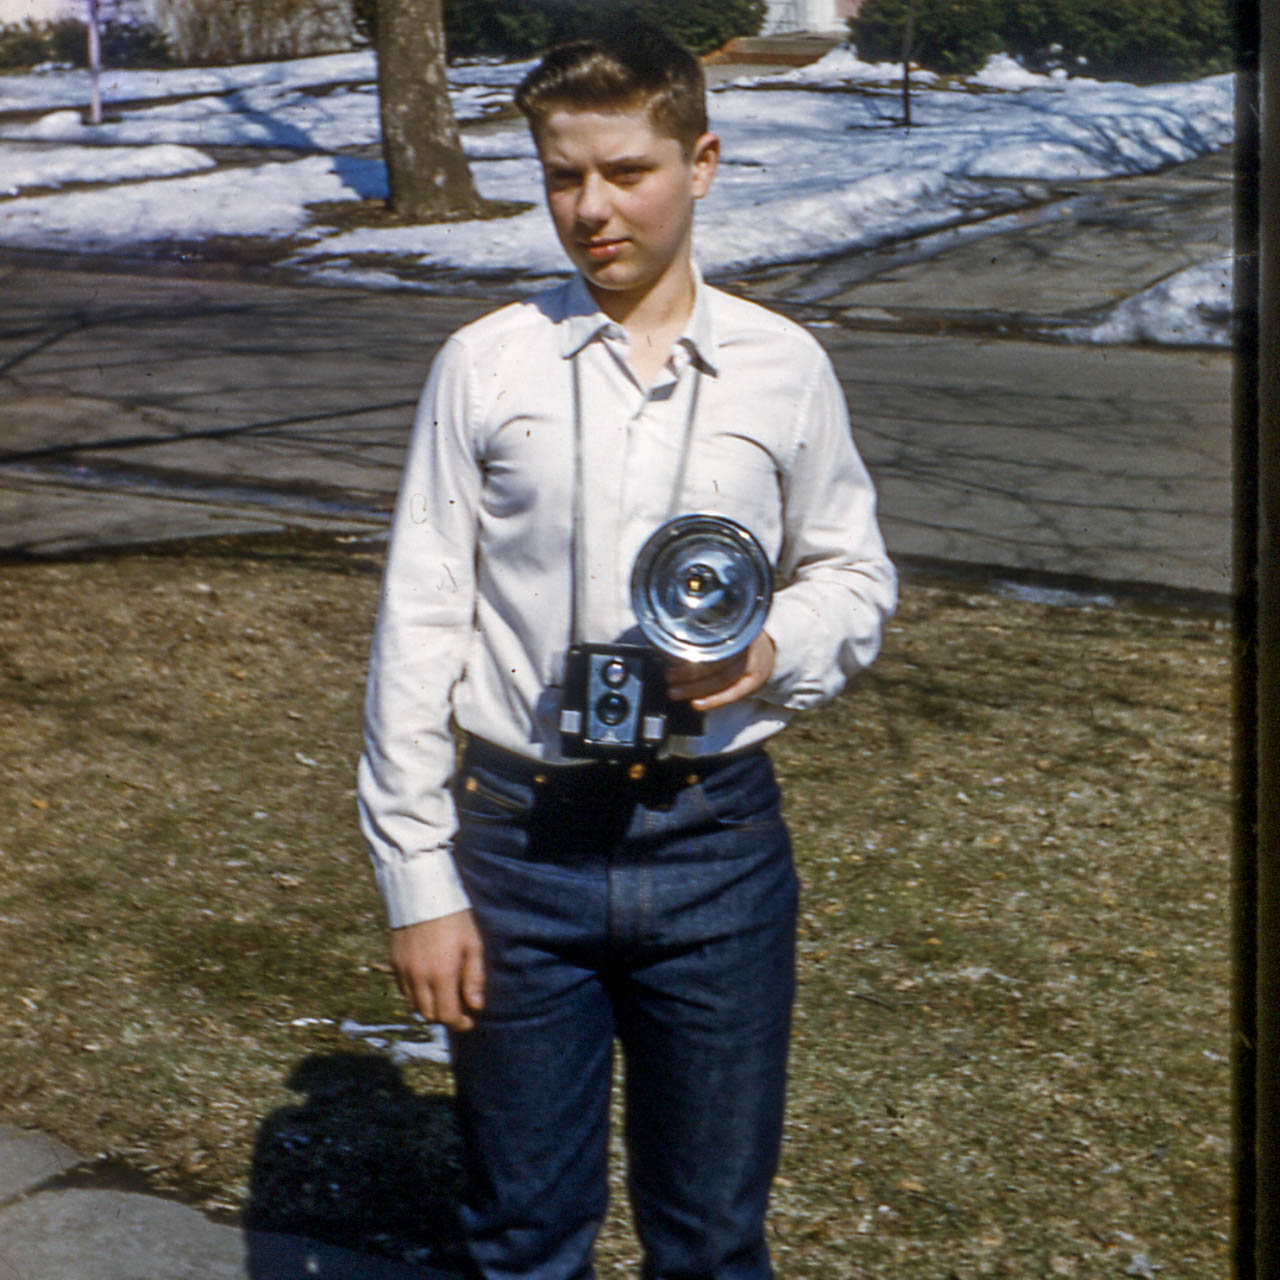
 As I recall, my first camera was a tower box camera. It was a box about 4 – 5 inches square. You held it about stomach height and looked at the viewfinder on the top. It was like a Kodak brownie. This was the mid 50’s. My, how cameras have changed.
Below is a Kodak six-20 from about 1940. 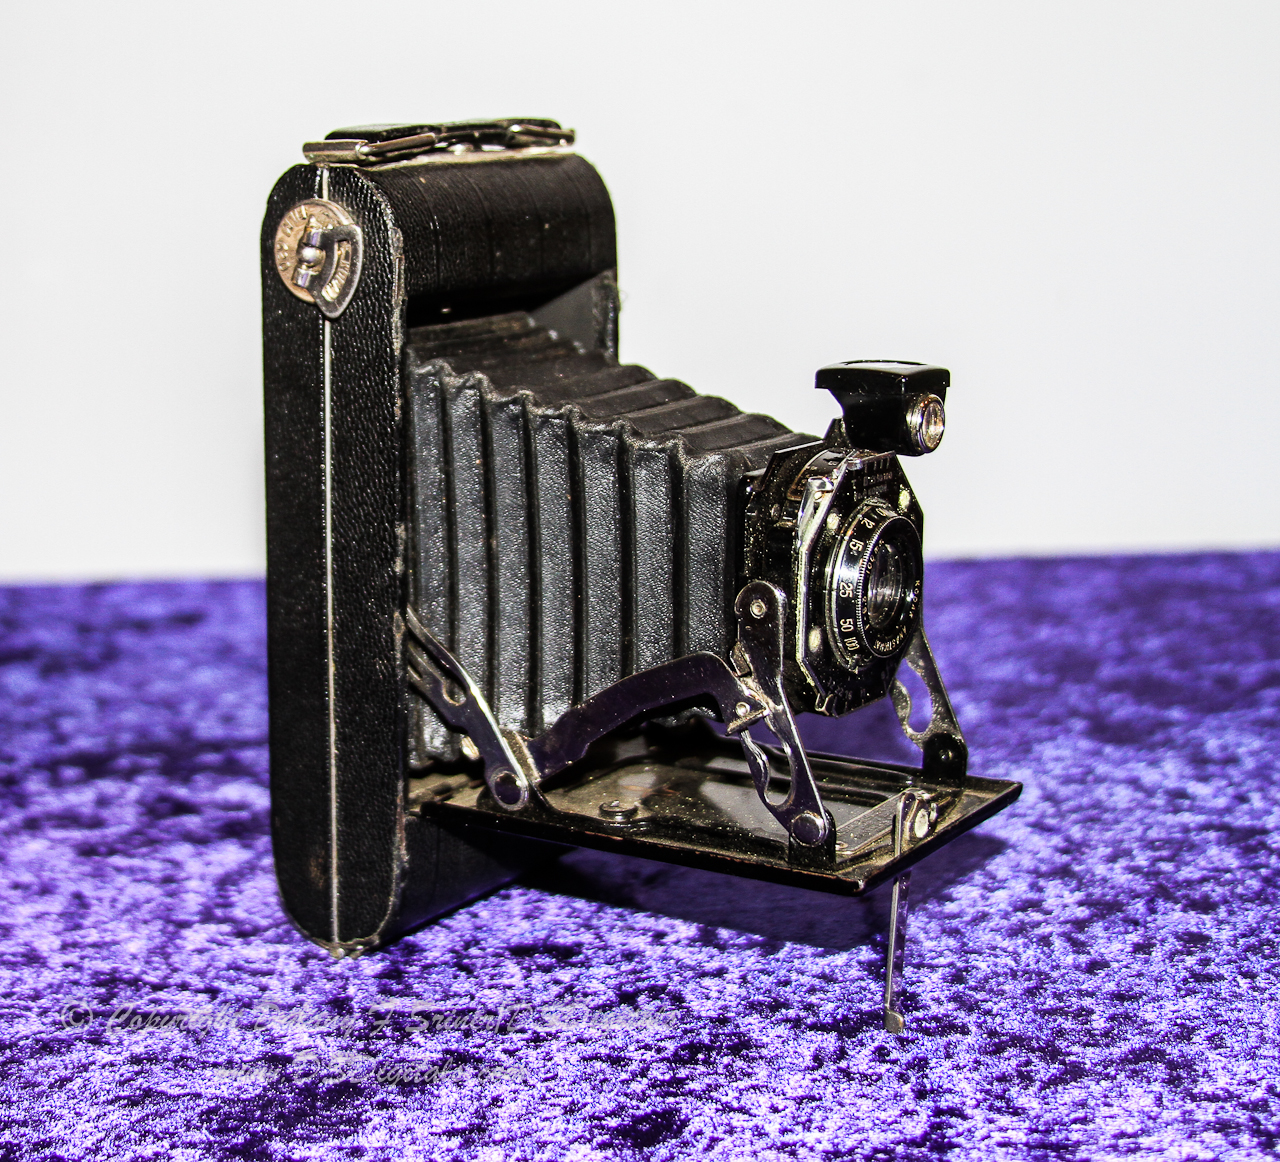
I got my first 35 mm SLR shortly after I was married. It was a Yashica. Nothing was automatic then! The most automated feature was the built-in light meter. By setting the size of the opening, Aperture and by setting the time of the exposure, the little light meter in the viewfinder would show up indicating amount of light entering camera. The object was to get the needle into the center of the scale. Open the aperture, and the needle would go to the right. Speed up the exposure (less time open) and it would go back to the left. Any combination of correct settings would bring it to center. The first time you got film developed, you found that although there were many options for proper exposure, they were not all successful in giving a good picture. If there was any movement, and the shutter stayed open too long, the picture was just a blur. If you moved the camera any with a long exposure, there was just a blur. It didn’t take too long to see that an exposure time of 1/30 sec was about the longest you could use without a tripod. If there was any movement of people, you better have a speed of about 1/60 sec or less. You also noticed that if you were using a telephoto lens at a distance, you better shoot at a faster speed. Shooting a bird with a 200mm lens required a shooting speed of less than 1/200 sec. It became obvious at first that the speed was the most important variable to master. So, depending on the type of picture, I would usually set the shutter speed first and then dial in the f-stop or aperture until the meter registered in the center point for the perfect exposure.
The first time you went to the drugstore for film, (yes, that was where most people got film and had it developed) you learned about the film ASA. I knew a little about film and 35 mm was the size of the film I used. I could get 24 exposure rolls or 36. I would buy color print film because I wanted to get a print of the picture. My Dad bought slide film because he would show the pictures on a screen with a slide projector. I guess that was the first “Big Screen”. Niagara Falls on a 6 ft screen was impressive. OK, so I walked up the the counter and asked for 35 mm, 36 exposure Kodak print film. I wanted to sound like I knew what I was talking about. The clerk replied, ” OK, what ASA do you want?”
” Huh?” was my reply. That is when I learned about film speed. I knew about shutter speed but now I found out there was also film speed. Film with a high ASA would work with less light. I could get 25 or 64 ASA. Later I found out about high speed film with an ASA of 400. That was 16 times more sensitive than 25. That was impressive. Unfortunately, the higher speed film came with a drawback; it was grainy. This was not an easy decision. If you had fast film and it was a bright sunny day, it might be difficult to get pictures that were not over-exposed. Going too low might limit pictures inside without flash. It seemed like the more I learned, the less I knew.
Every time I wanted to take a picture, I had to decide what film to use. What if I have taken just two shots on a good low speed film and then go into a candle-lit cabin and need high speed. Should I roll up the film in the camera and waste most of it or forget about the inside shots. I did learn that I could roll up the partially used film, note the number of pictures taken and then roll it up without loosing the leader. Then I would put it away and put in the faster film. Later when I wanted to go back to the slower film, I would have to put the partially used film in the camera, advance it past the already used portion and start shooting again. It was not an easy process. Once the film ASA was decided, I had to decide what shutter speed to use. Let’s see, we are at a colorful parade outside in the sun. I’ll put in ASA 64 Kodacolor, 36 print film. I load the film and make certain the end is properly caught in the take up reel. Advance the film several shots to be sure it is past the exposed leader. Screw on my 50mm lens and set the shutter speed to 1/250. OK, ready! Where did the parade go? I guess it was a short parade!
As you read this, you might say, “It doesn’t seem like it is worth the trouble.” Did I mention, you also have to focus the camera yourself on a split screen view finder if you have that luxury option. You look through the viewfinder and in the center, there is a circle. your image is split between top and bottom. To focus the camera, you had to line up the top and bottom to get focus. Now fire away but not too many shots because every roll will cost perhaps $20 to develop. Is it any wonder why we bought pictures of vacation spots rather than take them ourselves?
Now, even the cameras on our cell phones do all this decision making automatically. The better “point and shoots” will not only analyze the type of picture we are trying to take and decide the proper aperture, shutter speed and sensor ISO (like film ASA). Then they focus on a spot or group. They will even compare the faces of the subjects and focus on “known faces”. They do it almost instantly and “click” you have the picture you want and it is almost perfect!
So, to those who say, “shoot fully manual” I say, “no thanks, been there, done that. Let me do some tweaking but let that tiny computer inside my camera do the busy work! “